Making puzzles has been a hobby of mine since 2000. At that time I was still working, so they were only made in my spare time. Now I am retired, theoretically I have lots of spare time, but there are many other things which claim my time. The days race past!
Making the puzzles
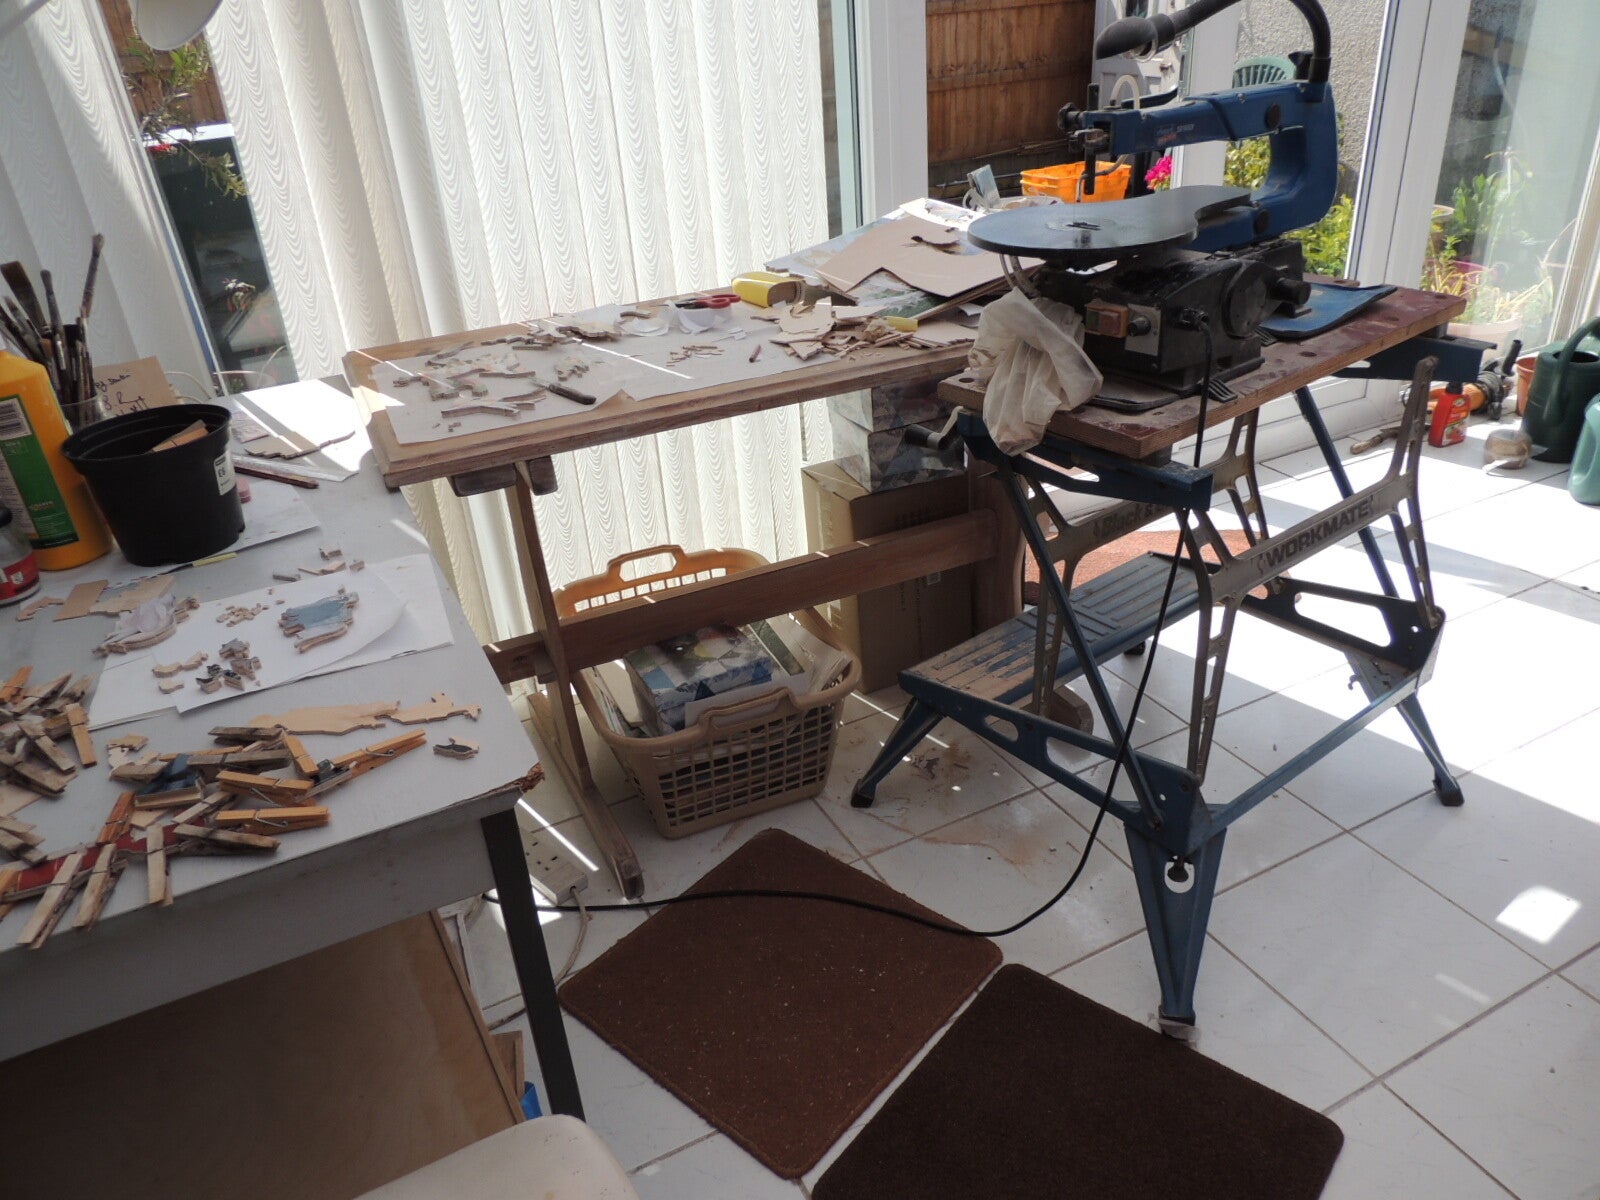
In our conservatory, one end is used as a greenhouse to grow mainly tomatoes and peppers, in the other end is my Axminster scrollsaw where I cut the puzzles, and in the middle is our old sofa. I use pinless blades, the thinnest ones 0.2 x 0.65mm, and slightly thicker ones for making 3D puzzles where I need to cut through several thicknesses of wood. The blades last about 20 minutes each. The basic plywood is 4mm thick, but to achieve a 3D effect I use various thicknesses as backing - 0.8mm, 1.5mm, 2mm, 3mm or 4mm.
Printed puzzles
These are made using laser copies of paintings or photographs. To ensure the wood is completely smooth and clean, I first wipe it with a damp cloth. I paint it with a coat of PVA and carefully attach the picture, starting at one end, and using a piece of kitchen roll to rub over it - I don't want any bubbles! When dry the puzzle is cut freehand, and each piece is sanded and finished by hand.
Making 3D puzzles
1. I use tracing paper to draw the outlines of the picture, so that I can decide on which areas should be 3D and label them with their proposed thickness.
2. Suitably-sized pieces of backing wood are stuck to the back of the picture in their appropriate places with double-sided tape.
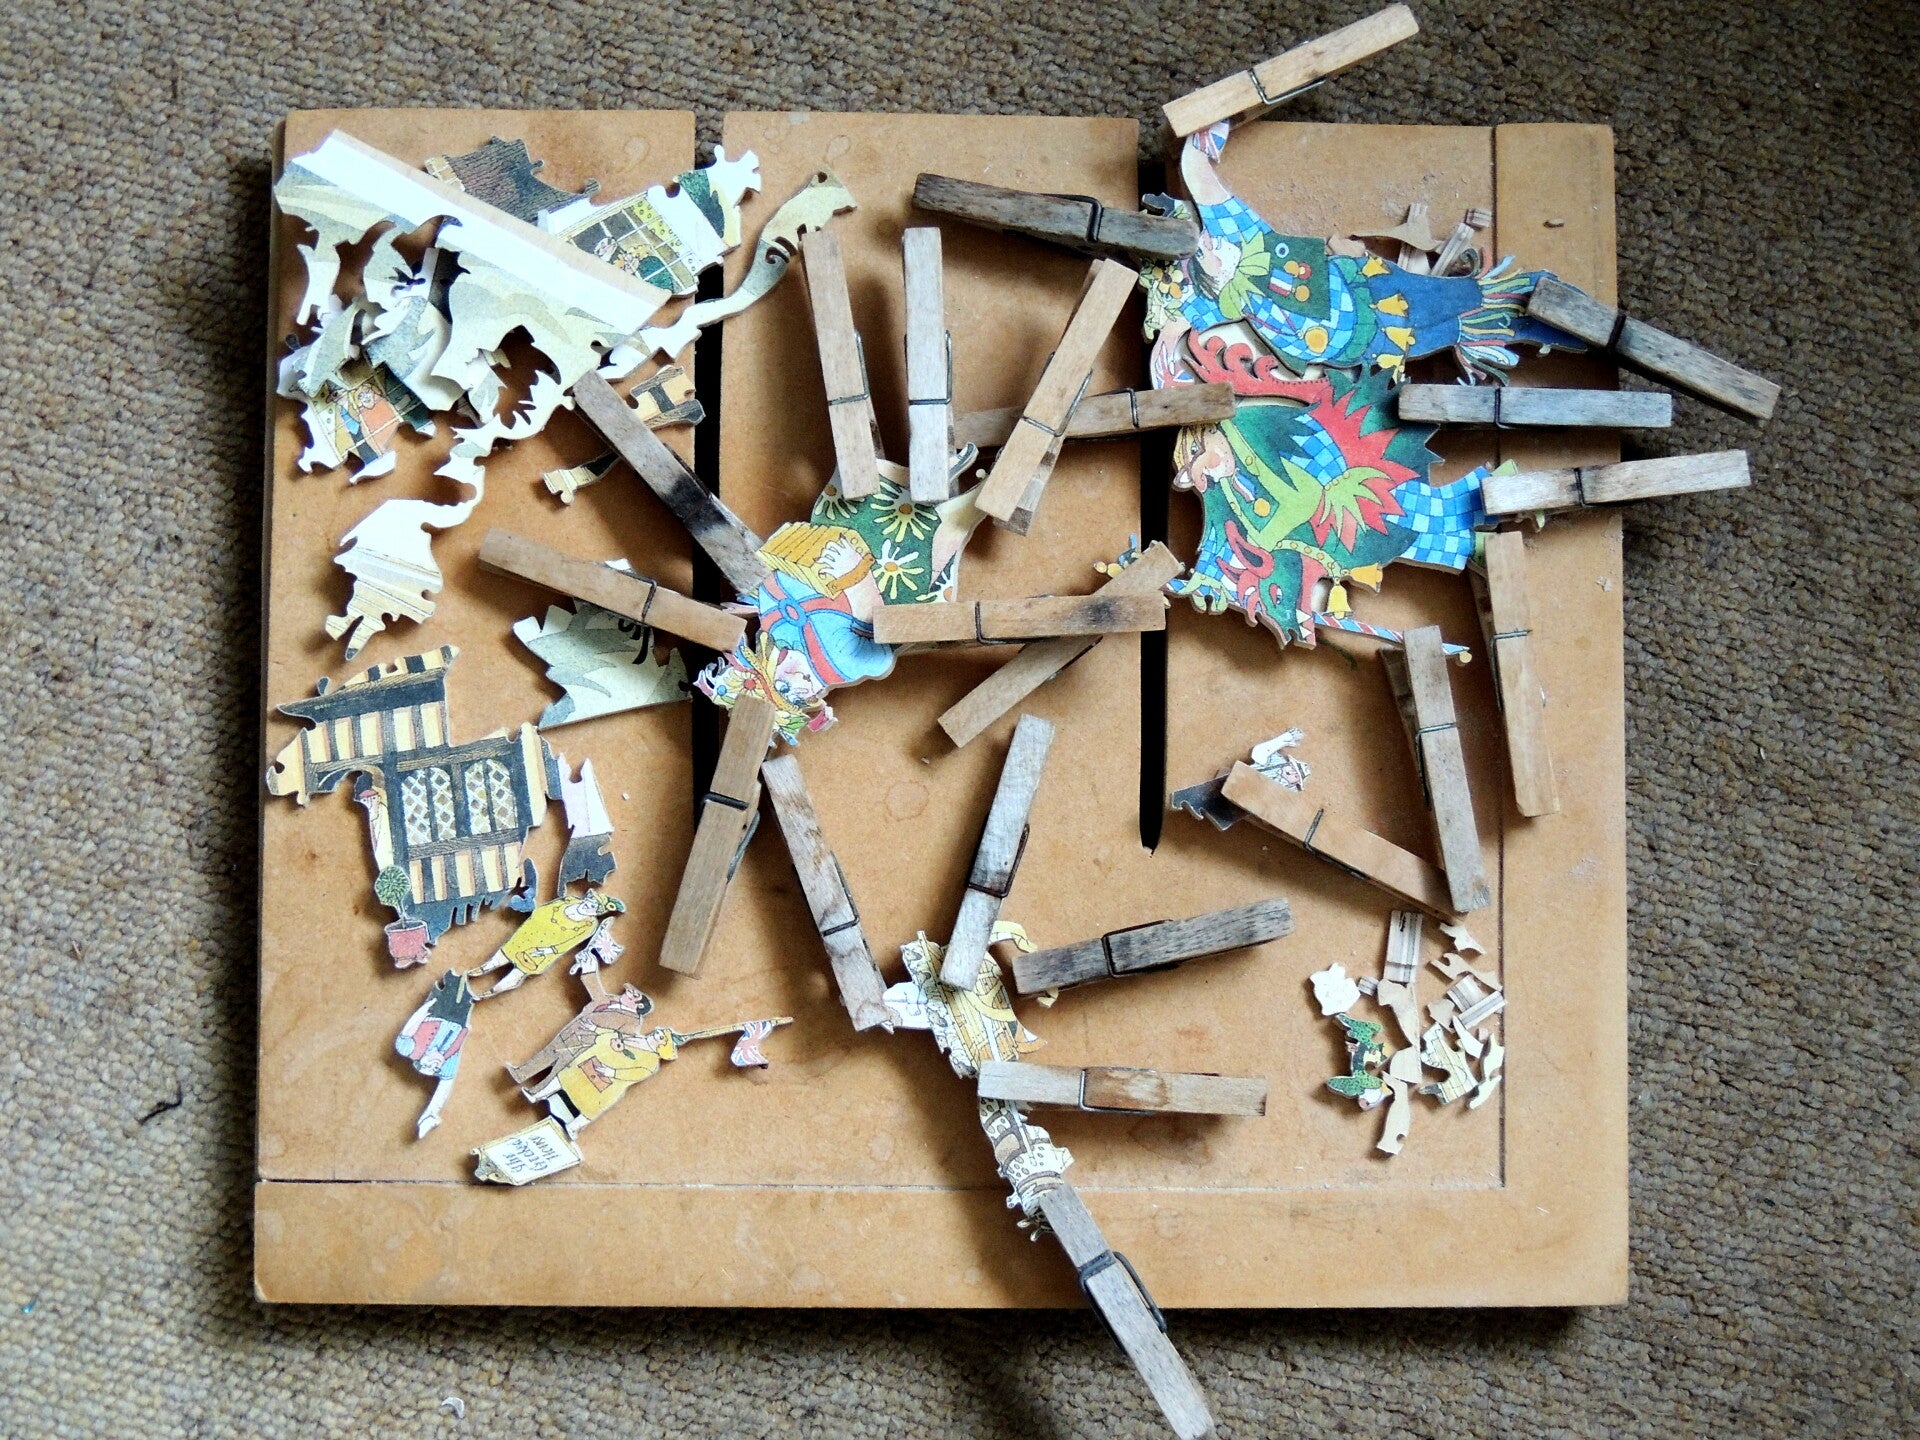
3. The 3D areas are cut out and the two pieces of each are separated. The tape is removed and replaced by PVA glue, and clothes pegs are used to keep the pieces together while the glue hardens.
4. The 3D pieces can then be cut up as usual.
Finishing touches
Where the puzzle cuts show white, usually only in black or dark areas, I go over them with watercolour. The puzzle then receives a protective coat of varnish.